HeadStart Health & Wellness Tips

Choke Prevention

Did you know that one of the leading cause of death in children under the age of 5 is choking?

Did you know that at least one child dies from choking on food every five days in the U.S., and more than 12,000 children are taken to a hospital emergency room each year for food-choking injuries?

It is of the utmost importance that parents keep a watchful eye on potential choking hazards. 

The anatomy of a child requires food modification for safe swallowing. Simply modifying the shape and textures of foods allows them to be able to safely consume those foods. The size of a young child’s windpipe is about that of a drinking straw in diameter. Foods that could get stuck in a straw or form a sticky plug over it are choking risks.

Three strategies to help prevent choking risks are:

#1) Supervise the child when eating

#2) Require the child to sit when eating

#3) Consider the shape, size and consistency of foods provided

The primary way to reduce choking risk in infants, toddlers, and children is ensuring they are seated in a supported seat with full adult supervision while eating.

Choking Hazard Foods:

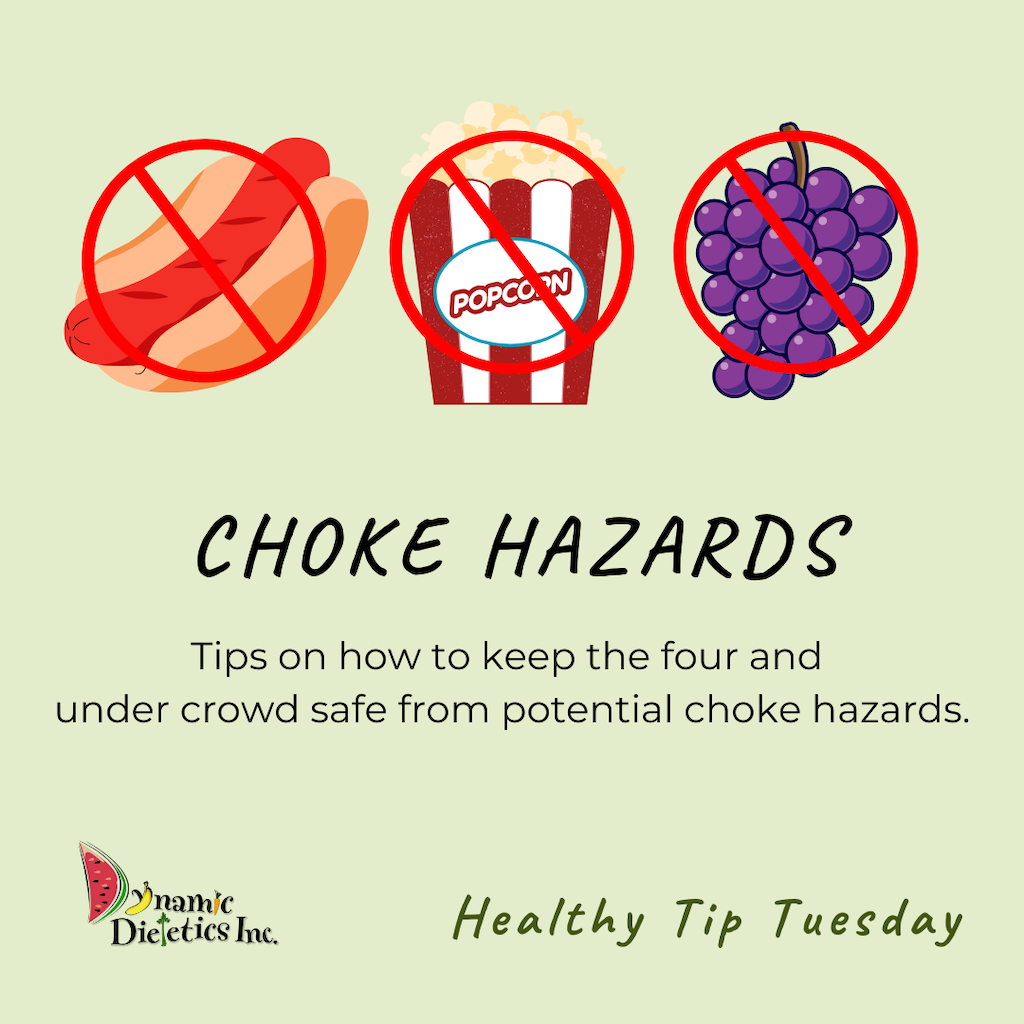
Foods that are sticky, slippery, dry, hard textured, or coin shaped are foods to be watchful of.

Some examples include:

  • Hot dogs, sausages that are either whole or cut into a coin shape
    •  To safely modify, cut vertically
  • Spoonfuls of peanut butter, or spreads of similar texture
    • To safely modify, smear the spread thinly and avoid giving spoonfuls.
    • Avoid soft white bread with thick spreads on top. Instead, consider toasting the bread.
  • Whole grapes, whole cherries, raw hard vegetables (celery, carrots), fruits with skin
    • To safely modify, slice cherries and grapes vertically.
    • Steam or cook hard vegetables to soften and then cut up for the child as developmentally appropriate
    • Peel skins
  • Popcorn, chips, seeds, all nuts, dried fruits
  • Hard or sticky candy, cough drops, gum, lollipops, marshmallows, caramels, and jelly beans, ice cubes
    • These foods should be avoided during the little years due to high choking risks

Chili

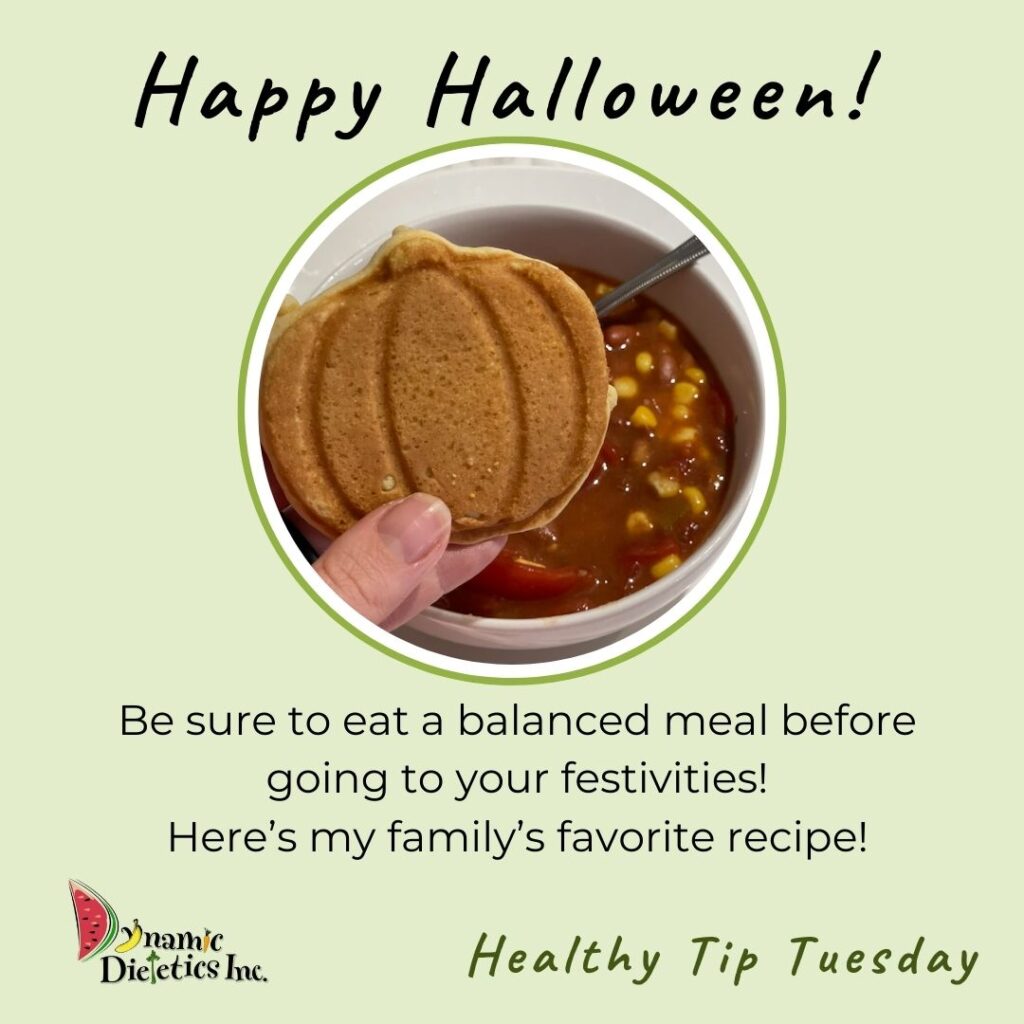
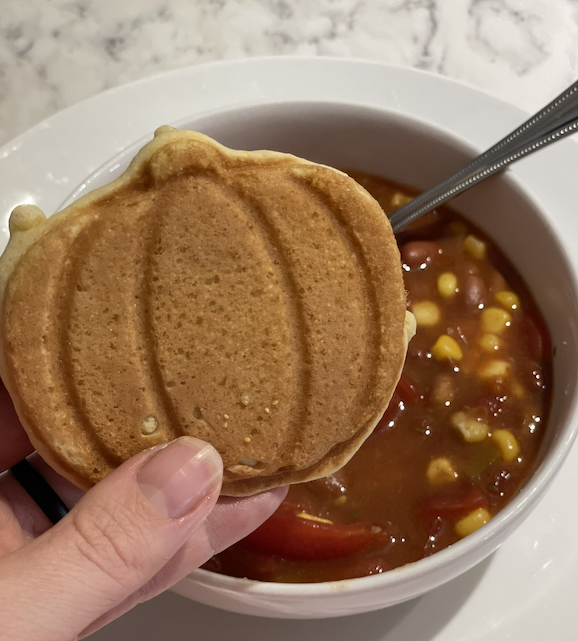
I made our favorite chili and paired it with cornbread pumpkin shaped waffles-It put such a fun fall spin on our dinner. This would be such a cute Halloween meal! 

To make the waffles, simply mix up your favorite cornbread batter and put in a greased waffle maker! I happened to find a mini pumpkin waffle maker and used that to help pull together my fall theme. Cooking cornbread in a waffle maker is so simple, but it is such a fun twist on traditional cornbread! 

Healthy Recipe Swaps

Typically cornbread calls for oil and I love skipping oil in recipes when baking. Did you know that applesauce can be substituted for oil when baking and in my experience it does not change the texture nor the taste? But it does save a TON of fat and calories. Sub it in a 1:1 ratio. For example, the recipe I use calls for 5 tbsp of canola oil which is 620 calories and 70 grams total fat compared to 5 tbsp unsweetened applesauce is about 30 calories and 0 grams total fat! Little swaps can really make a difference!

Recipe

Ingredients:
2 pounds 97%/3% ground turkey, browned
1 envelope taco seasoning
1 envelope ranch packet
1 cup water
16oz can mild chili beans
16oz can corn
1 can pinto beans
1 can diced tomatoes with green chilies
1 can diced tomatoes
1 can kidney beans

Instructions:
Brown the ground turkey. Drain and rinse all canned ingredients, except for the chili beans. Combine all other ingredients into pot. Bring to a boil, then reduce heat and simmer uncovered for 15 minutes-Occasionally stir.

Meal Planning Tips

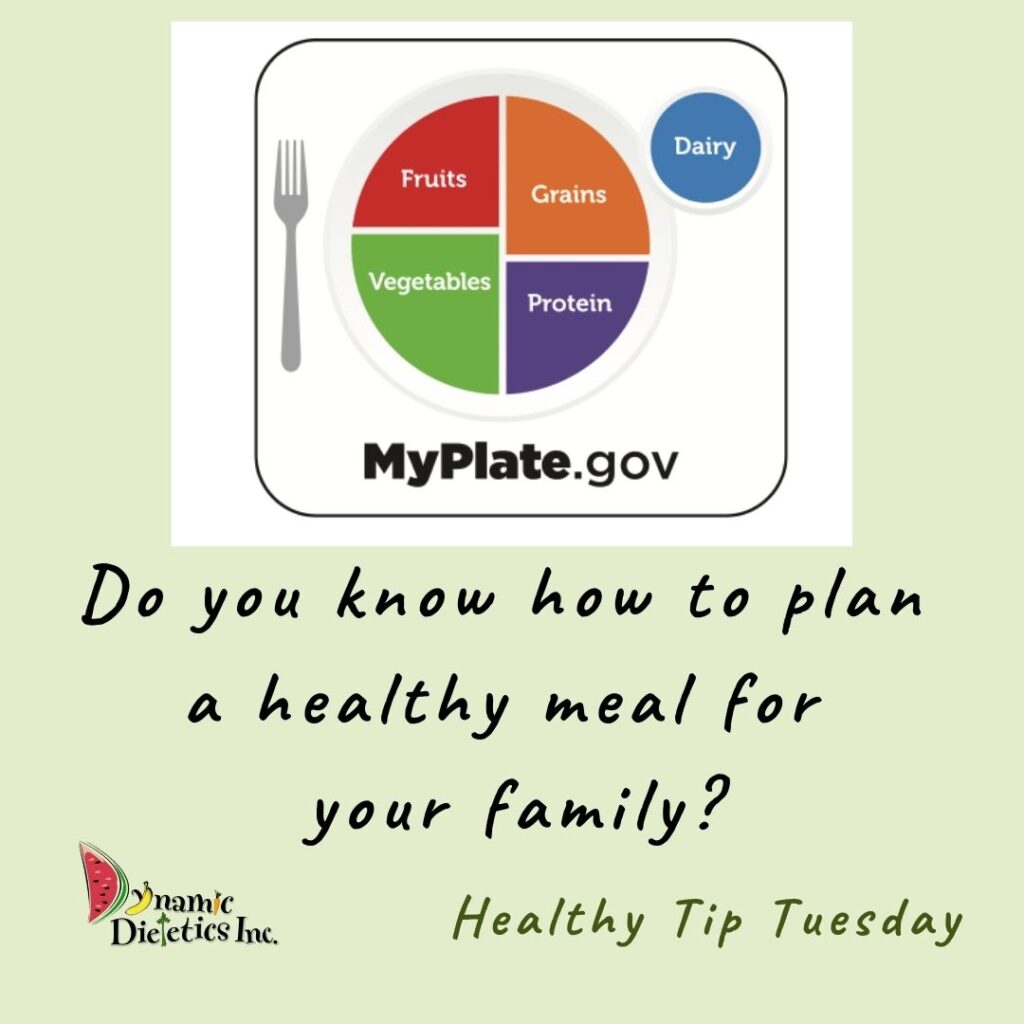
Use the USDA MyPlate as a guide. This simple plate model is something I use every time I make any meal and I hope it becomes a helpful tool for you too! Aiming to include all 5 food groups at meals helps your child to meet their nutritional goals. 

Before you start making your menu, I recommend to take a step back and focus on the fundamental components of what makes a balanced meal and then use that as a spring board for creating a menu. This will make planning out meals for your family much easier because it will take the process from random to predictable. 

I recommend to have a little planning session with your family! Talk about the five food groups and their favorite foods in each category. Yes, I am sure you already know the answers to these questions, but if your kiddo is helping in the planning process it will help to increase food acceptance at meal times. Keep the conversation positive and remind them that you are only asking for their favorites, not a list of what they do not like. If you have more than one child, the terminology “Don’t Yuck on my yum” might come in handy for you. It is a phrase that we use at my house. In other words, encourage your children to avoid negative comments about foods other people enjoy.

Practical Ideas:

  • It all starts at the grocery store! Use the plate method to inspire your grocery shopping list.
  • Hang the list in the pantry or save in your notes app for quick reference. This list will come in when you are needing ideas.                                              
  • Keep frozen or canned fruits and vegetables in stock to help you to serve balanced meals, even when you are running low on fresh produce. 

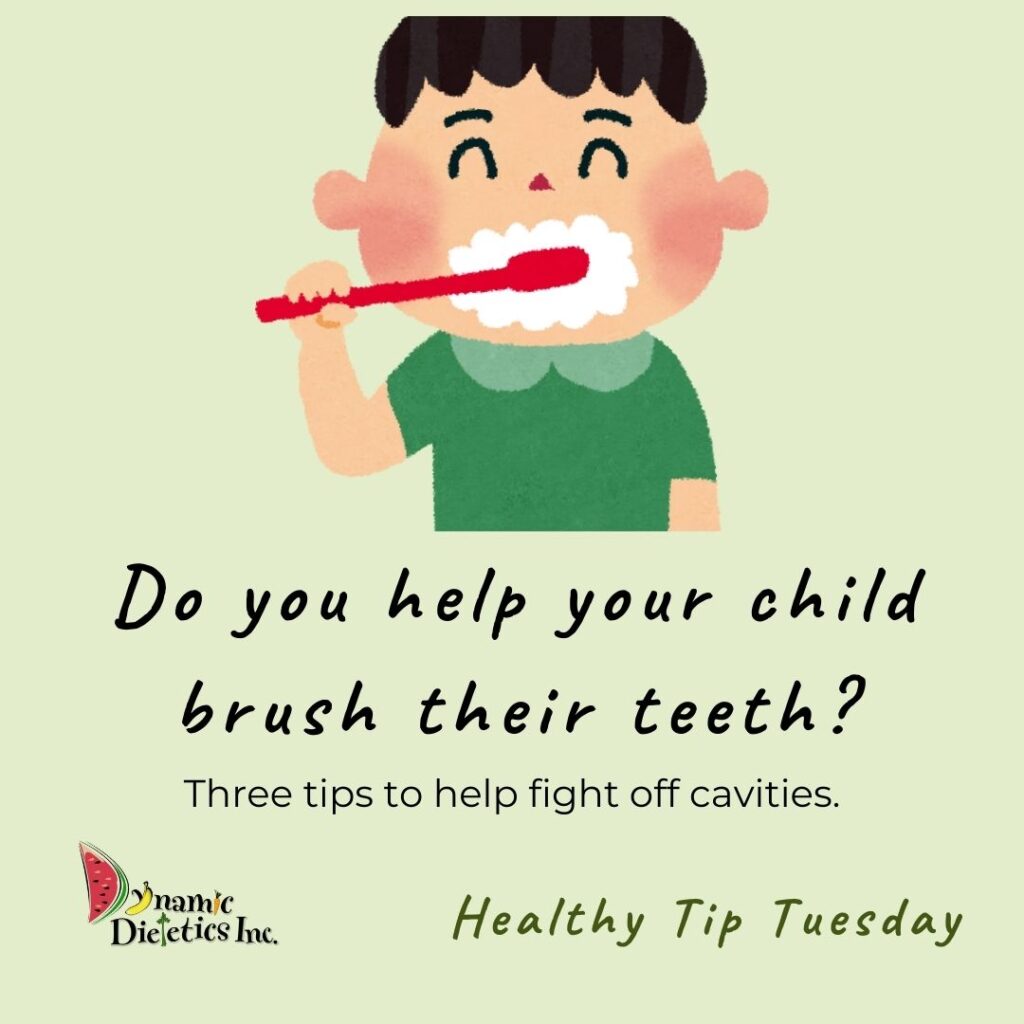
Fight Off Cavities

Three tips to help fight off cavities

When we eat sugary foods, the bacteria in our mouths feeds on the sugar to produce acid. The acid attacks the enamel (the outer layer of the tooth that protects it) which causes tooth decay and will eventually turn into a cavity. Here are three tips to help your child avoid those painful cavities:


1) Help them brush their teeth until age 9. Flossing and brushing twice a day is recommended.


2) Limit their intake of sticky/sugary candies and snacks. These types of foods are likely to cause cavities because they tend to stick to the teeth which allows for more time for enamel breakdown. Examples include crackers, gummies, fruit snacks, chips, lollipops and taffy.


3) Limit their intake of acidic sugary drinks (soda, juice, sports drinks) because they can damage tooth enamel.

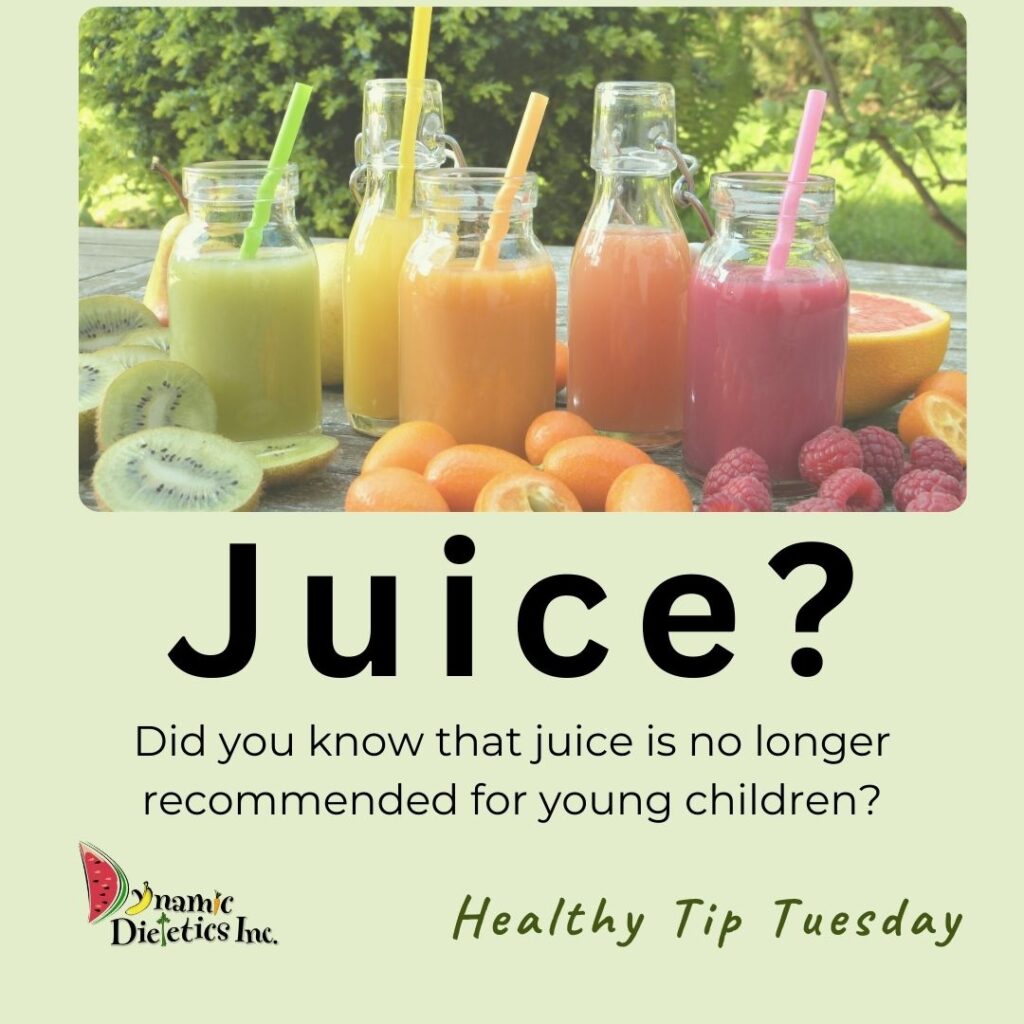
DGA Juice Recommendations

The Dietary Guidelines for Americans 2020-2025 recommends to completely avoid juice (even 100% juice) for children under the age of two years old. For children older than two years old, it is recommended to limit juice to only 4oz per day and prefers for the child to eat the actual fruit instead. Any form of sugar sweetened beverages (sodas, sweet tea, sports drinks, etc) are not recommended for young children. 

Two reasons this guideline makes sense: 
1) Because nutrient needs are so high in this age group, and children’s bodies are so small, it is challenging to get their needed nutrients in during the day. Simply put, infants and toddlers do not have the room in their diets for the additional calories and low nutritional benefit from added sugars found in these beverages. The goal is to avoid allowing the child to fill up on juice and therefore not be able to consume the food that is needed for proper growth and development.

2) Right now you have the opportunity to mold your child’s food preferences and food norms. It is stated by the DGA that sugar-sweetened beverage intake in infancy and early childhood may predispose children to consume more of these beverages later in life.

My suggestion? Make water attractive to your child. Have a special water cup just for them. Model drinking water and aim to make drinking plain water the norm. Sometimes this is a bigger mental shift for parents than for the child. This is a habit that can be cultivated while the child is young and they will reap the benefits as they age.

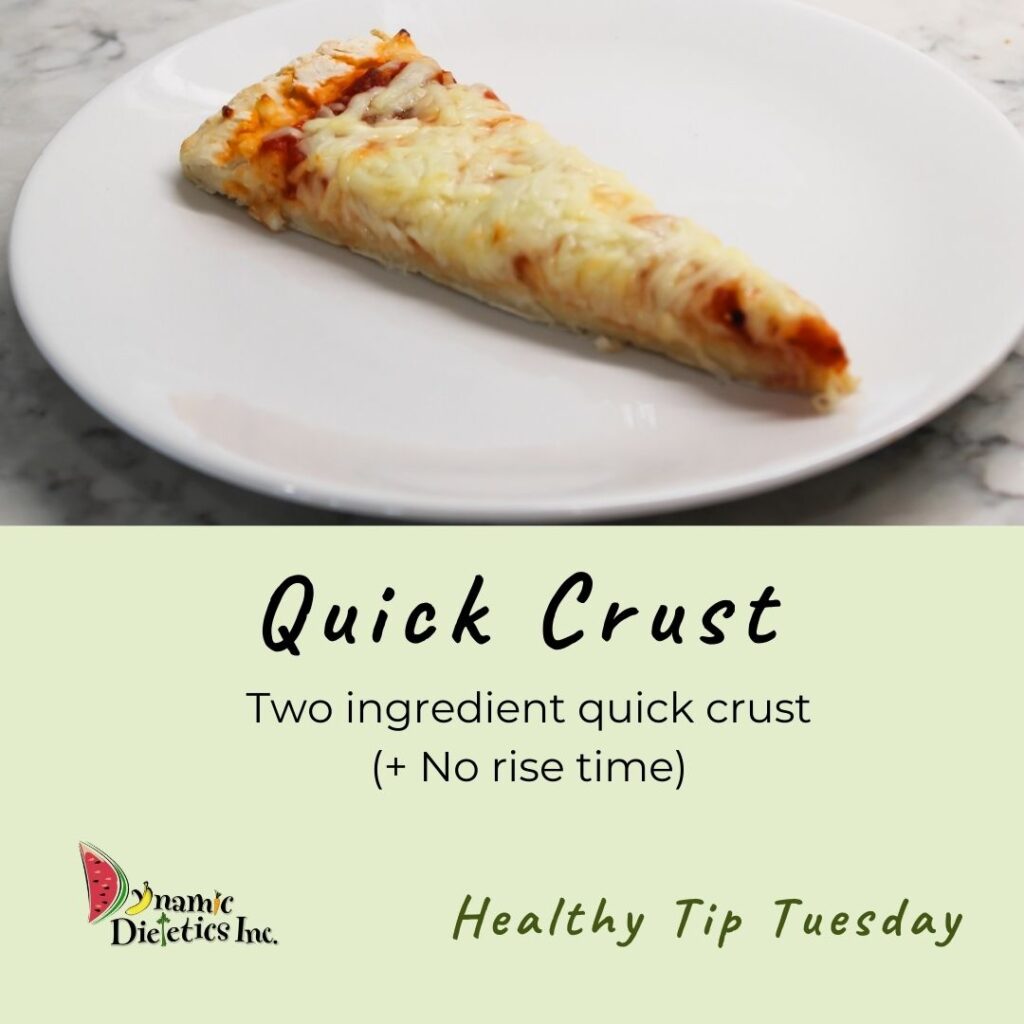
Quick Crust Pizza

This pizza is made with Greek Yogurt! You can’t taste the yogurt, but it does help to bump up the protein content!

Ingredients: 
1 cup Greek yogurt 
2 cups self rising flour
(I promise your pizza will not taste like yogurt!)

Combine ingredients and kneed for 10 minutes. It will appear dry and crumbly at first but keep working the dough and it will come together. Put in your standing mixer with dough attachment or kneed by hand. Roll out dough onto a baking sheet (I love using a pizza stone!) 

Adding toppings of choice-sauce, cheese, veggies, etc. 

Bake at 450 degrees for 8 minutes or until cheese bubbles.

Enjoy!
-Heather

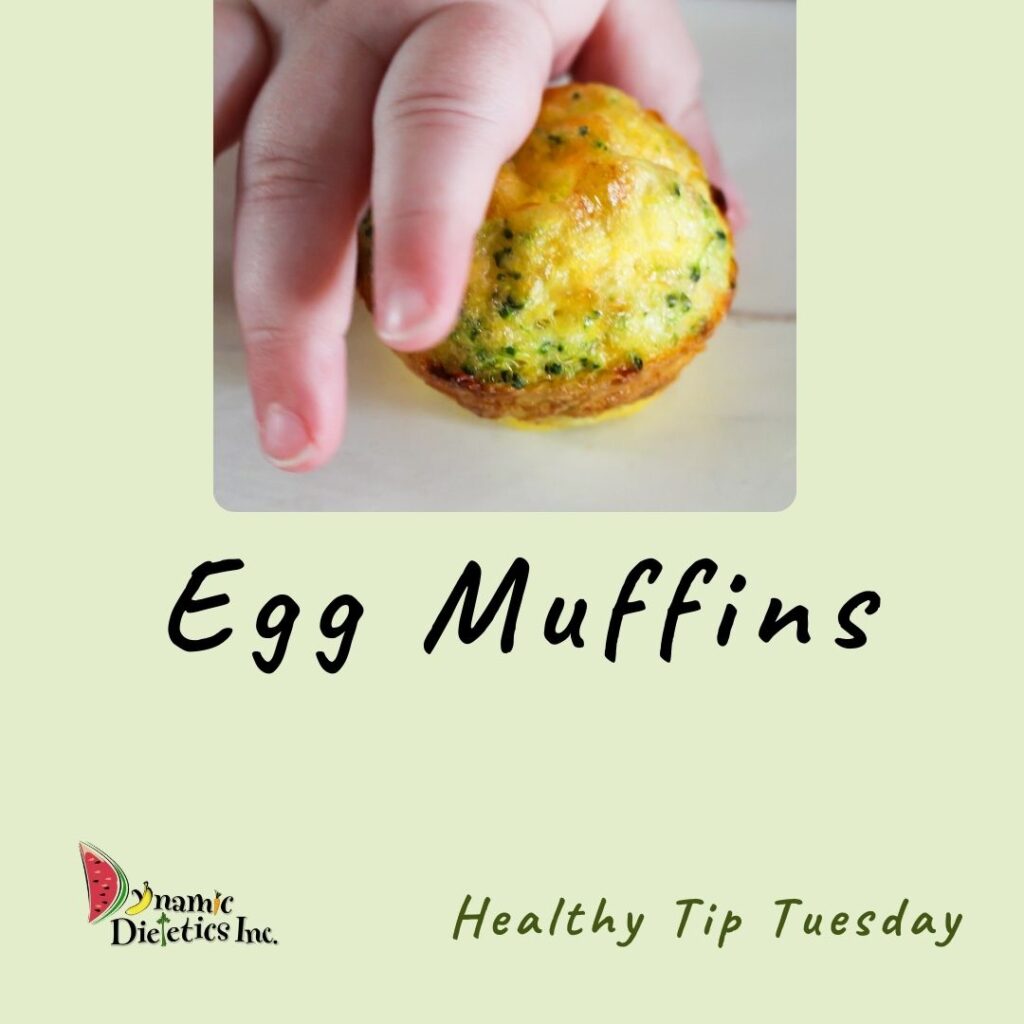
Egg Muffins

Ingredients:

10 eggs

1/2 cup finely chopped raw broccoli

1/2 cup cooked ground turkey

Toppings: shredded cheddar cheese and fresh ground pepper

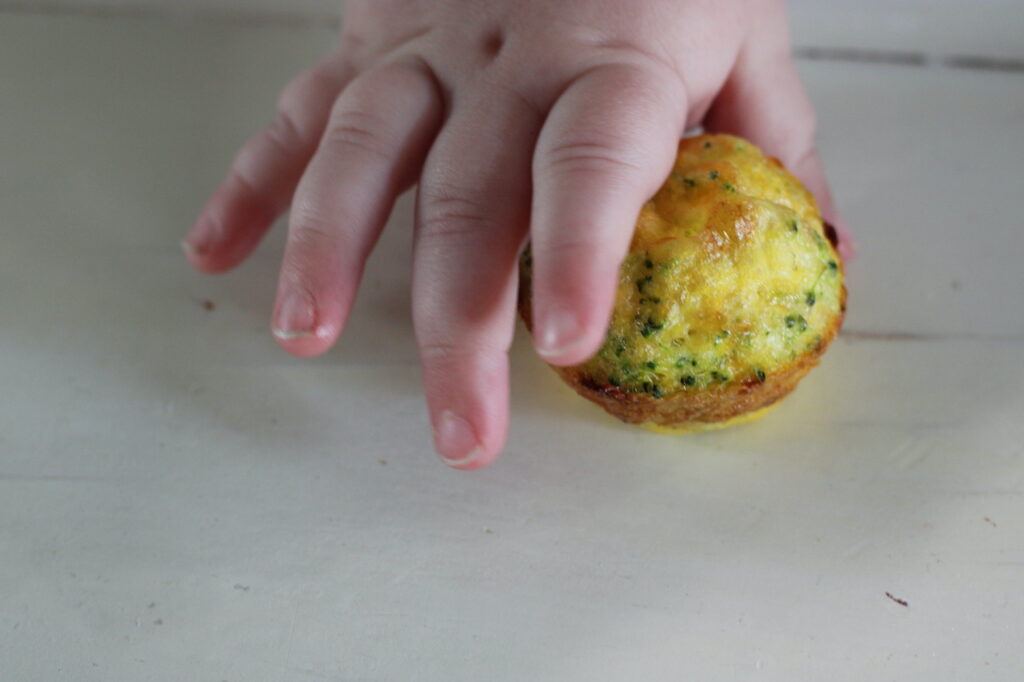
These are so easy to make and a perfect for little hands!

To make: heavily spray your muffin tin. Whisk 10 eggs. Go ahead and evenly distribute eggs into the cups about 1/2 way full. NOTE: You can add all ingredients into one bowl and then divide among the cups, however I find that it is easier to evenly distribute the ingredients by adding directly into the muffin tin. 

Add additional toppings per taste preferences and what you have available. This is a great way to repurpose leftovers! Aim to add a vegetable. Our go-to combo is egg, turkey and broccoli. Add the cooked ground turkey and broccoli into the egg cup and stir. I tend to mince my broccoli, but you can chop any way you prefer it. The muffin tin should be no more than 2/3 full. I typically use about a half cup of broccoli and ground turkey. Add a sprinkle of shredded cheddar cheese and top with fresh ground pepper.

Currently, I divide the eggs between a regular muffin tin and a mini muffin tin so that I have some regular sized ones for my husband and some minis for my little boys. I find there is less food waste when the boys have a smaller portion size. 
Bake at 350 degrees for 15-17 minutes or until egg appears to be set and the tops are golden brown. 

These freeze great and are perfect for mornings you need to get breakfast on the table quickly.  Just pop in the microwave for about 30 seconds or until warm throughout.

Enjoy!
-Heather

Pumpkin Muffins

There are many ways you can help your child develop the critical skill of sequencing, but my favorite way to help them flex that muscle is by getting in the kitchen with them! Sequencing is knowing how to put things in a particular order to achieve a desired outcome and it is foundational for comprehension, reading and writing. Sequencing is something that adults do on autopilot and it is easy to forget that these skills are learned and need to be taught to our littles. Baking together can help your child to learn the steps to make something delicious while also helping to build up their sequencing skills.


1 can of pumpkin puree
1 box of all spice cake mix

Mix together the two ingredients. Fill to the top of a mini muffin pan. Bake at 350 degrees for 17 minutes.

Enjoy!
-Heather

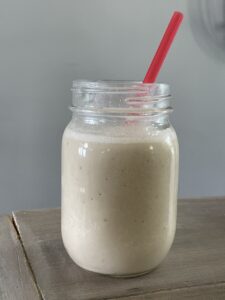
PB+Banana Smoothie

Smoothies are a super easy way to add some nutrients to your kiddo’s day! To be honest, I’ve never been much of a smoothie promoter. It wasn’t until getting knee deep in motherhood and comparing the nutrient needs of my toddlers with their willingness to eat and their physical ability to chew that I started looking into more ways to plug nutrients in during their day. 

Ingredients:
1 banana 
1 cup milk of choice
3 tablespoons peanut butter
1 cup of ice

We also add:
1 tablespoon ground flaxseed
(Totally optional but it doesn’t change the taste and it helps to bump up the protein and the fiber content, win win!)

RD Tip: never “sneak” ingredients in. Always be honest about what you’re serving. My boys get excited about the add-ins because they each get to take a turn scooping, measuring and dumping into the blender. Simply including your kiddos into the process will create excitement and increase food acceptance!

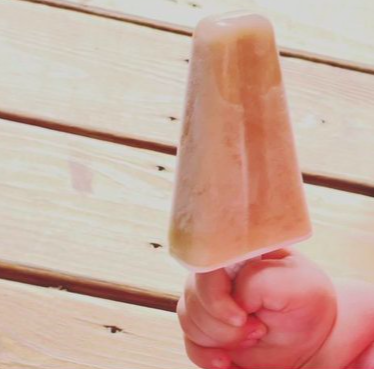
For a fun spin on this recipe, try adding the smoothie to a reusable popsicle mold or to push-pop molds. Fill to the top of the mold and then freeze for about 4 hours. These frozen treats are such a delight! 

Enjoy!
-Heather

Frozen Yogurt Cups

These grab and go snacks are so easy to make! 

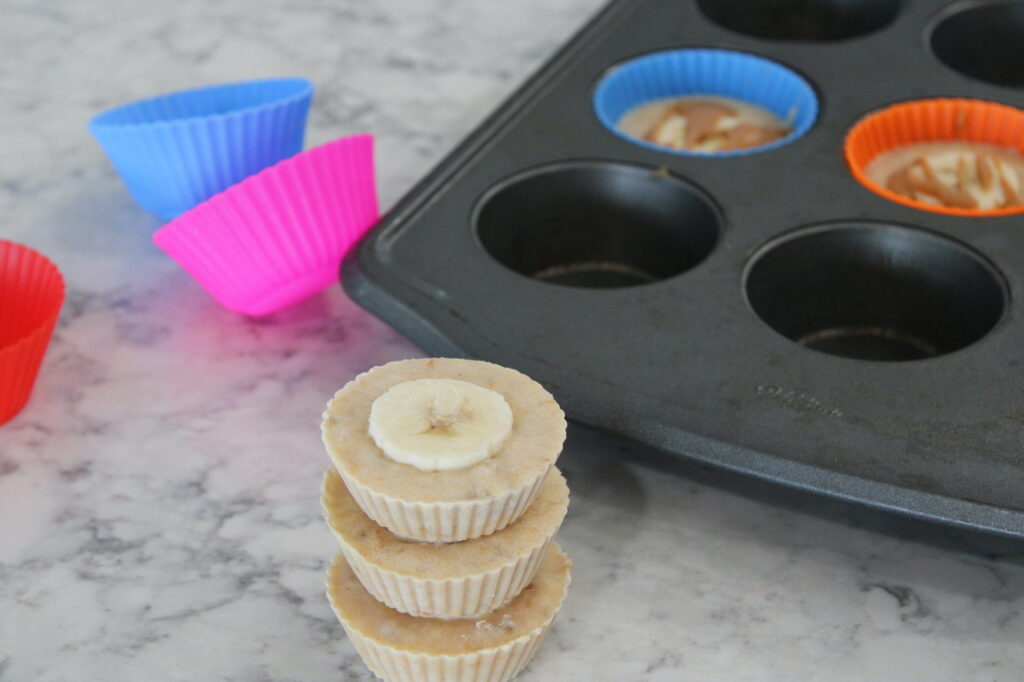
Three ingredients: 5.3oz/150g vanilla Greek yogurt, I large banana and 2 tablespoons of peanut butter. Mush banana- (give your kiddo a fork or a potato masher and put them to work!) then add in peanut butter and yogurt and stir until well combined. 

I used reusable silicone baking cups for these, but paper liners will work too! 

Evenly distribute the mixture among 10-12 cups (depending how thick you want them) Add desired toppings and freeze until solid (about 3 hours). Remove liners and transfer to freezer bag to save for later. 

For toppings, I put a banana slice on top of each cup (an egg slicer is my trick to quickly getting uniform cuts-it is also a perfect way for my little one to help!) I also melted peanut butter in the microwave for about 30 seconds and drizzled on top of some of them.

Enjoy!
-Heather