HeadStart Health & Wellness Tips
Uncrustables

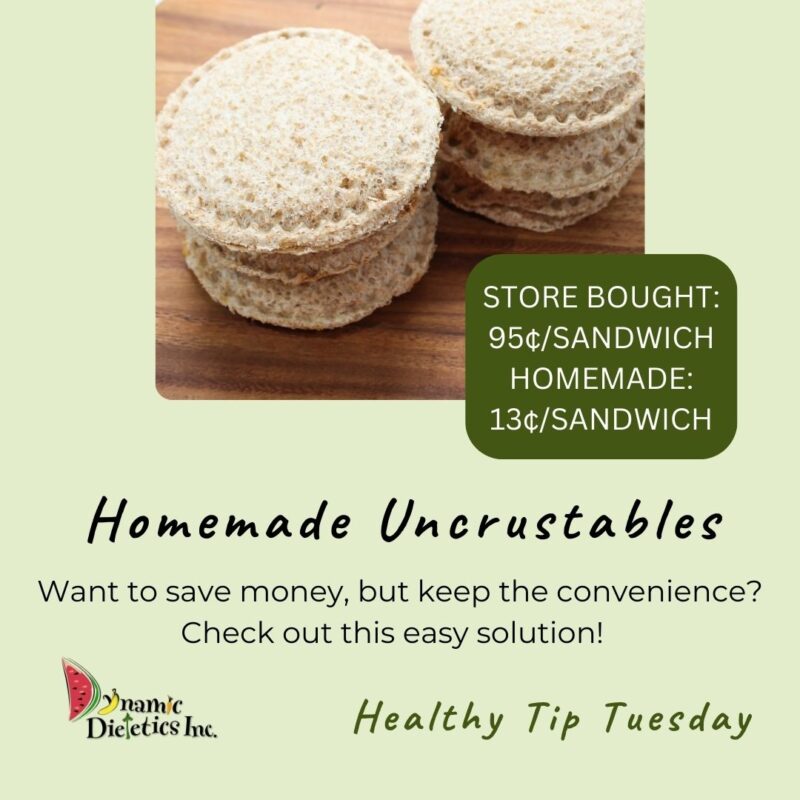
While I love the convenience of having premade sandwiches readily available in my freezer, I am not a fan of the price. So I decided to make my own and it has been a hit with my family (and my grocery bill).
At my local grocery store, Uncrustables are $9.48 for a box of 10 right now which comes out to about 95 cents a sandwich. My homemade peanut butter sandwiches came out to about 13 cents per sandwich (using store brand ingredients and buying ingredients in bulk) that’s over 80% less!! Woohoo!
The great thing about making these at home is that it not only saves money but you can customize to meet your family’s taste preferences!
You can totally duplicate the classic Uncrustable sandwich at home by using a sandwich press. This one was a thrift store find (score!) but you can find online or at most grocery stores near the bread aisle. It is one of my favorite kitchen gadgets! However, if you do not have a sandwich press you can still achieve the look of the sandwich by using a glass to cut the circle shape and then using a fork to seal around the edge.
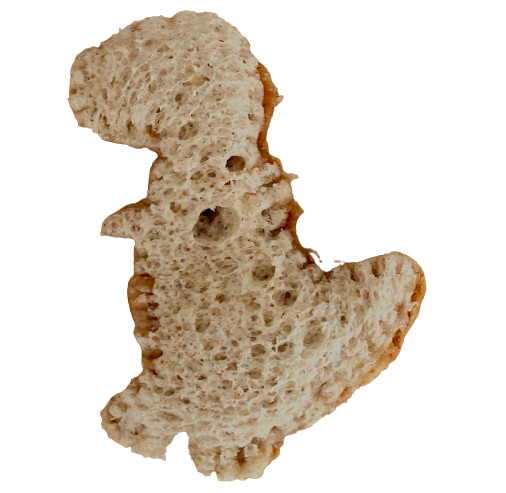
For added fun, try using cookie cutters!
If you have cookie cutters, you could cut the sandwich out with a cookie cutter and then press together the edges with a fork!
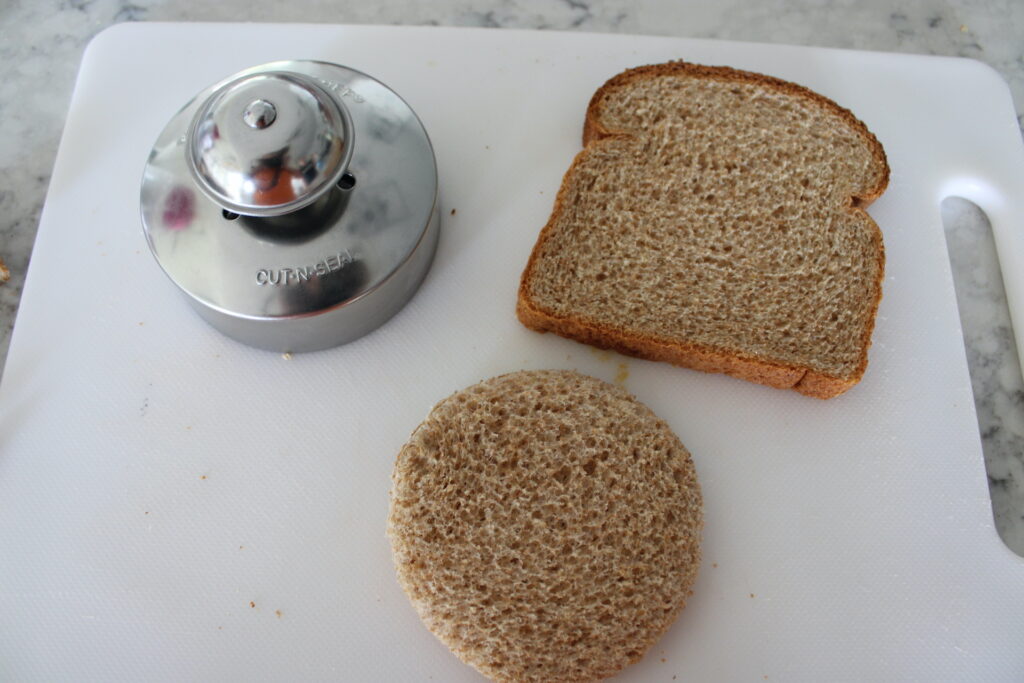
To make: prepare sandwich per your taste preferences. I used whole wheat bread and a tablespoon of PB and skipped the jelly because my little guys just don’t prefer jelly. Then press and seal sandwich. TIP- if using jelly put peanut butter on both sides of the bread to prevent sandwich from becoming soggy when thawed.
Flash freeze for about two hours and then transfer sandwiches to a freezer bag to store until ready to eat!
TIP- if you are new to stocking your freezer- don’t be intimidated by it! Your freezer is about to become your new best friend! Haha! To flash freeze, lay sandwiches flat on a baking sheet and place uncovered in freezer. Doing this just helps to prevent sandwiches from sticking together once transferred to a freezer bag.


